
Last updated October 16, 2026
 AC repair
 Furnace & heating
 Heat pumps
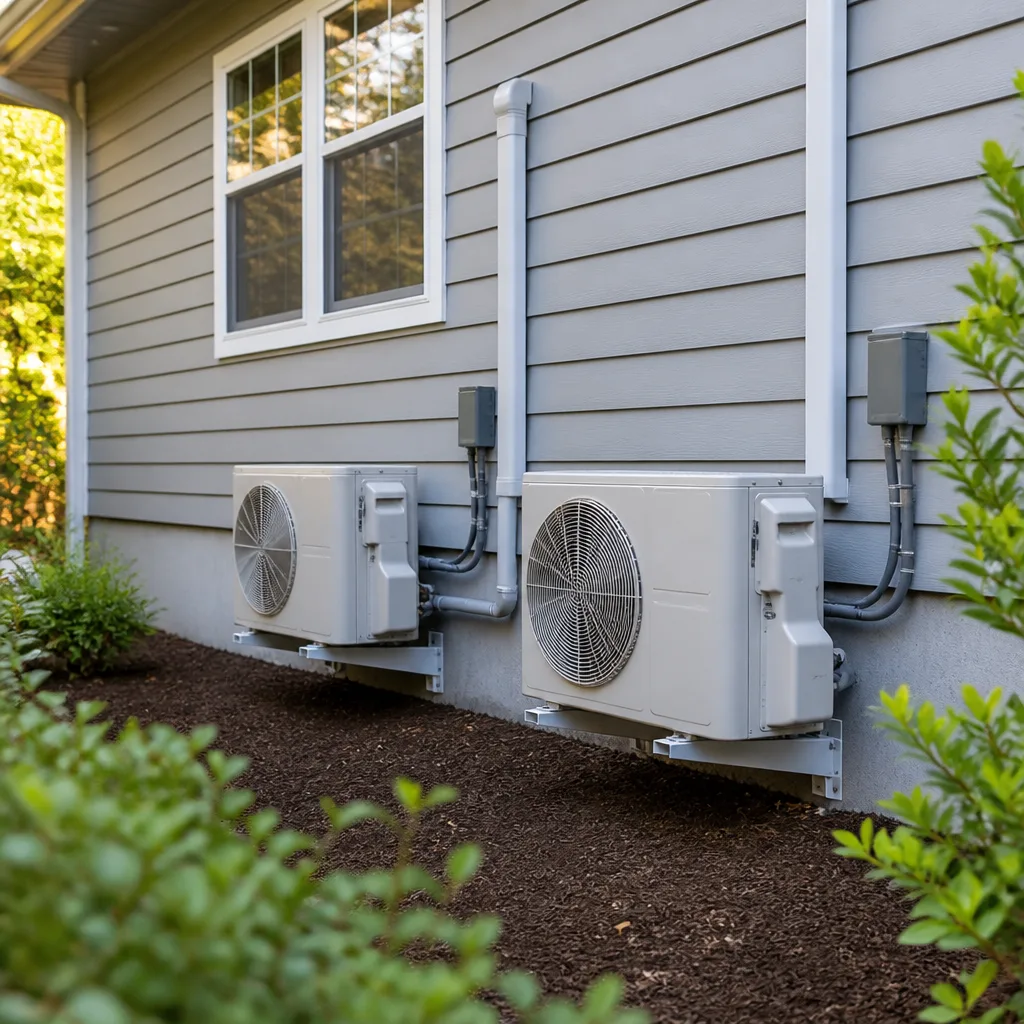 Ductless mini splits
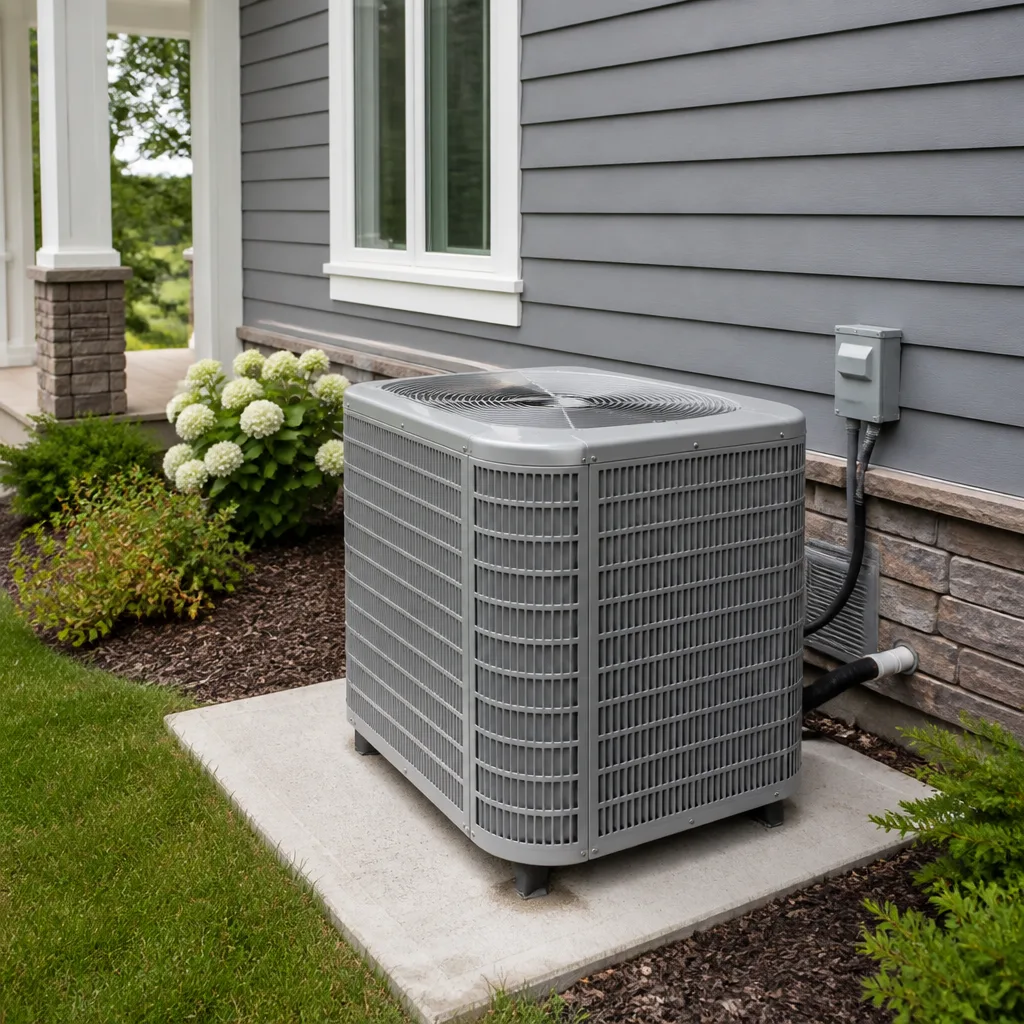 Carrier
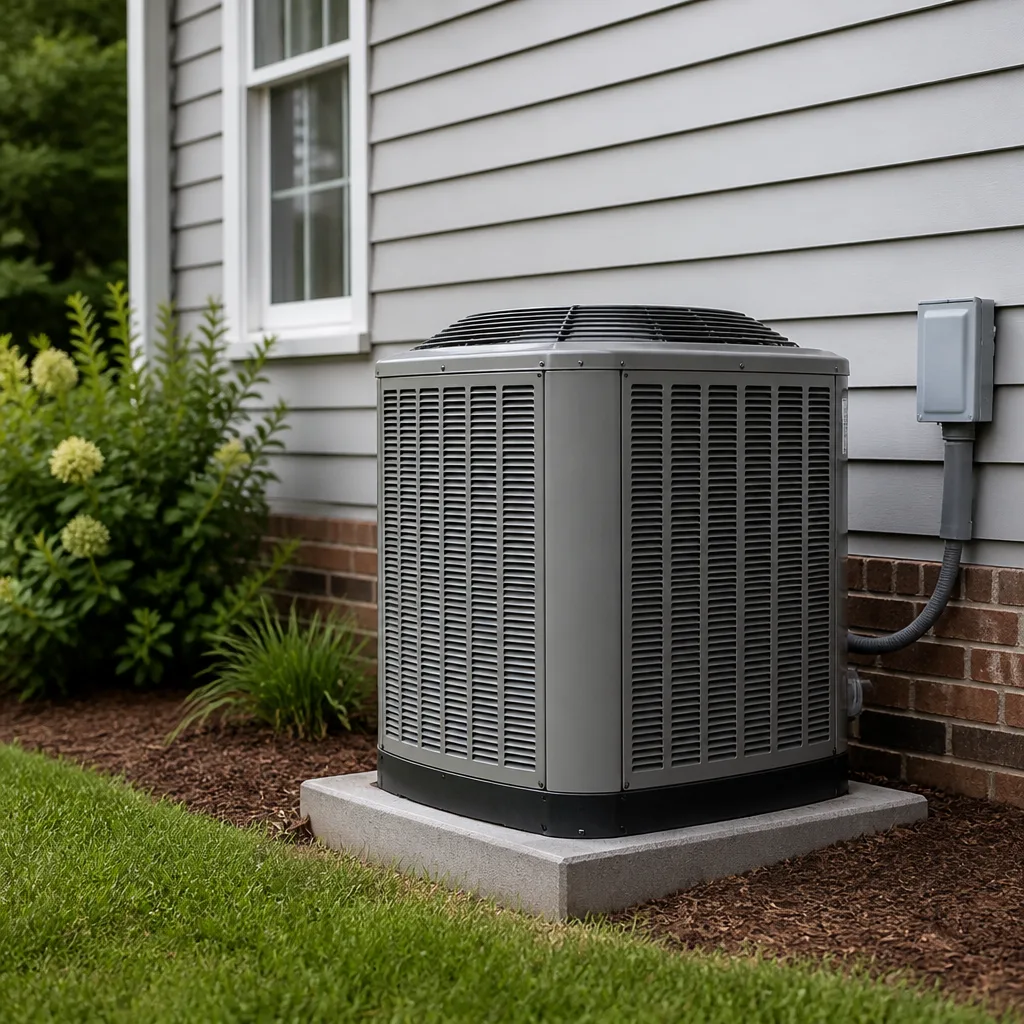 Trane
Trane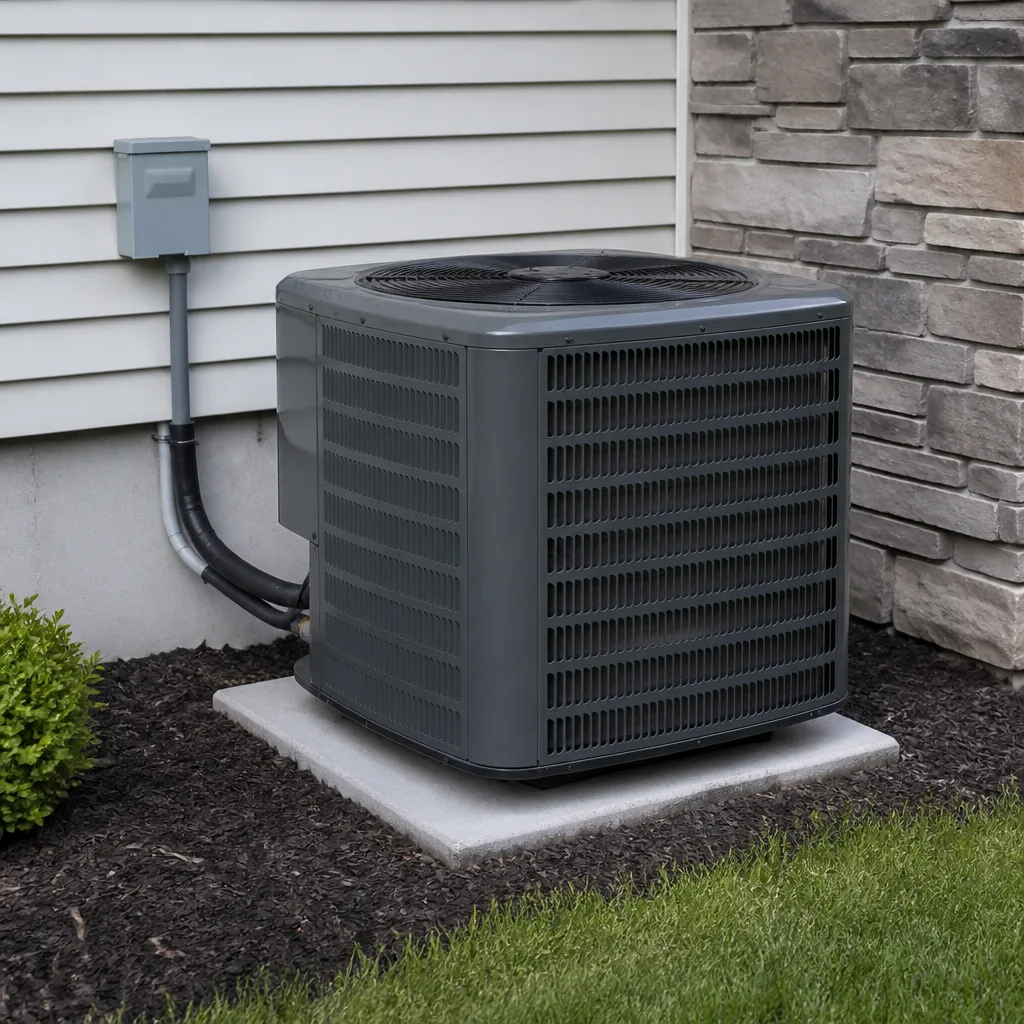 Goodman
Seasonal tune-up and full diagnostic on your Carrier, Trane, or Goodman system - readings shown to you before any repair is proposed
Diagnosis first, numbers second - you approve the repair price before a single part goes in.
Get your free estimateAC Repair Maintenance Checklist for San Diego Homeowners
In San Diego, most AC breakdowns aren’t caused by what you’d expect. We take thousands of repair calls each year, and the single most common failure we see isn’t a dead compressor or a blown motor. It’s a clogged condensate drain that backs up during the humidity jump from June Gloom. A standard 12-point maintenance checklist never mentions it, because a standard checklist wasn’t written for San Diego. This guide is. You’ll learn the maintenance steps that actually prevent breakdowns in our climate, what you can safely do yourself, what belongs in a technician’s hands, and roughly what each step costs in the San Diego market.
Styles & brands we work with
Quick Answer
An effective San Diego AC maintenance checklist covers five jobs before July: flush the condensate drain, check the capacitor and contactor, inspect the coil (especially near the coast), install a clean filter rated for wildfire smoke season, and verify refrigerant pressure. Done right, this prevents roughly 80% of the repair calls we see each summer. Expect to pay $89 – $189 for a professional tune-up in San Diego, or do the safe DIY steps yourself for about $25 in materials.
Table of Contents
- Why the Condensate Drain Is San Diego’s #1 AC Weak Point
- Salt Air and Your AC: The Coastal Corrosion Problem
- Capacitor and Contactor: The Pre-July Inspection
- Filter Type and Replacement Schedule for San Diego’s Smoke Season
- Refrigerant Levels: What to Check and What Never to “Top Off”
- DIY vs. Licensed Technician: Where the Line Is (and Why It Matters)
- A Month-by-Month Maintenance Timeline for San Diego
- Common Mistakes to Avoid
- When to Call a Professional
- Frequently Asked Questions
- The Bottom Line
Why the Condensate Drain Is San Diego’s #1 AC Weak Point
Your AC produces gallons of water every day it runs. In most climates, that water drains steadily and nobody thinks twice about it. In San Diego, the pattern is different. Systems sit idle through months of dry weather. Then June Gloom arrives with humidity spikes that linger for weeks, and suddenly your coil is pulling moisture out of the air at full force. The drain line, which has been dry and collecting dust and debris for months, can’t keep up. Water backs up into the drain pan, then onto your ceiling, wall, or floor.
We see this in neighborhoods across San Diego every June without fail. In Clairemont and Tierrasanta, where homes were built in the 1970s and 1980s, original drain lines have narrow diameters and decades of sediment buildup. In newer developments like Torrey Highlands and Civita, the problem is usually construction debris in the line from when the system was installed. Either way, the fix starts with awareness.
Here’s what a proper condensate drain maintenance step looks like in San Diego:
- Locate the drain line. It’s the PVC pipe coming off the indoor air handler, usually white and about 3/4 inch wide. It either runs outside to a spot near the condenser or into a sink or floor drain.
- Check the drain pan. If your air handler is in an attic, closet, or garage, look for standing water in the pan underneath it. Any water means the drain is partially blocked.
- Time the flush for late May. In San Diego, the condensation load spikes in June. Flush the line before the marine layer settles in. Pour one cup of white vinegar into the line at the access point, wait 20 minutes, then flush with warm water. Do this every May and again in September as wildfire season winds down.
- Listen for gurgling. When the AC is running, a gurgling or bubbling sound near the indoor unit often means water is pooling rather than draining. That’s your early warning.
A professional drain flush with a wet-dry vacuum and, if needed, a drain-line treatment runs $75 – $150 as part of a broader tune-up in San Diego. Replacing a drain line entirely runs $150 – $350 depending on access. Caught early, this is one of the cheapest fixes in HVAC. Caught late, the water damage in your ceiling or drywall can run into the thousands, and that’s before we even touch the AC itself.
If your drain line has already backed up and you’re seeing water where it shouldn’t be, shut the system off at the thermostat and call for AC Repair in San Diego before running it again. A live person answers the phone at (619) 793-3598 around the clock.
Salt Air and Your AC: The Coastal Corrosion Problem
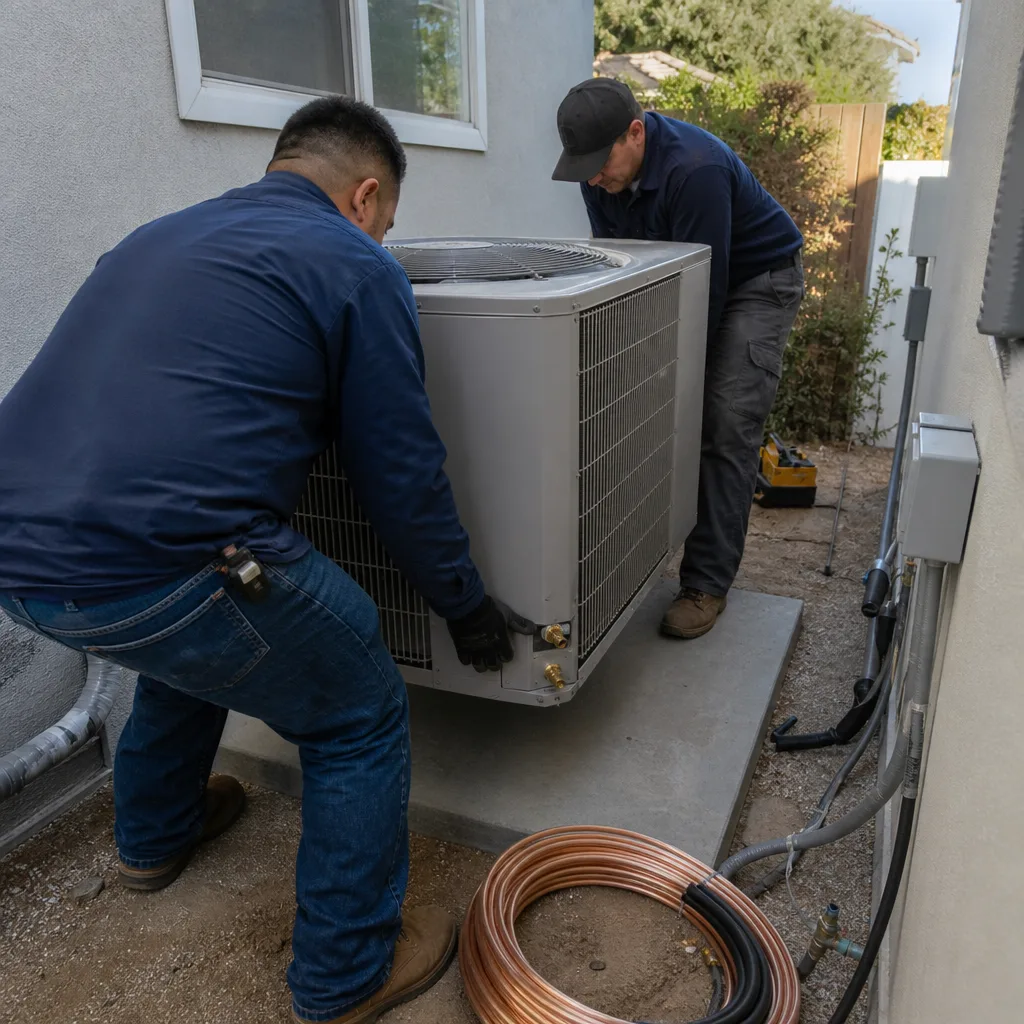
If you live within two miles of the coast anywhere from Imperial Beach up through La Jolla and into Del Mar, your AC faces a threat most maintenance checklists ignore entirely: salt air. It eats condenser coils. We’ve pulled coils out of homes in Ocean Beach and Point Loma that looked like they’d been sitting in seawater for years. Actually, that’s not far from the truth. Ocean mist carries microscopic salt particles that settle on the aluminum fins of your outdoor unit. Salt accelerates the electrochemical reaction that corrodes aluminum, and once the fins start to break down, your system loses its ability to reject heat.
The result is a system that runs longer, works harder, and costs more to operate. In severe cases, the coil gets pin-sized holes that leak refrigerant, and the repair cost jumps from a few hundred dollars into the several-thousand range for a coil replacement.
Here’s what to check and what to do:
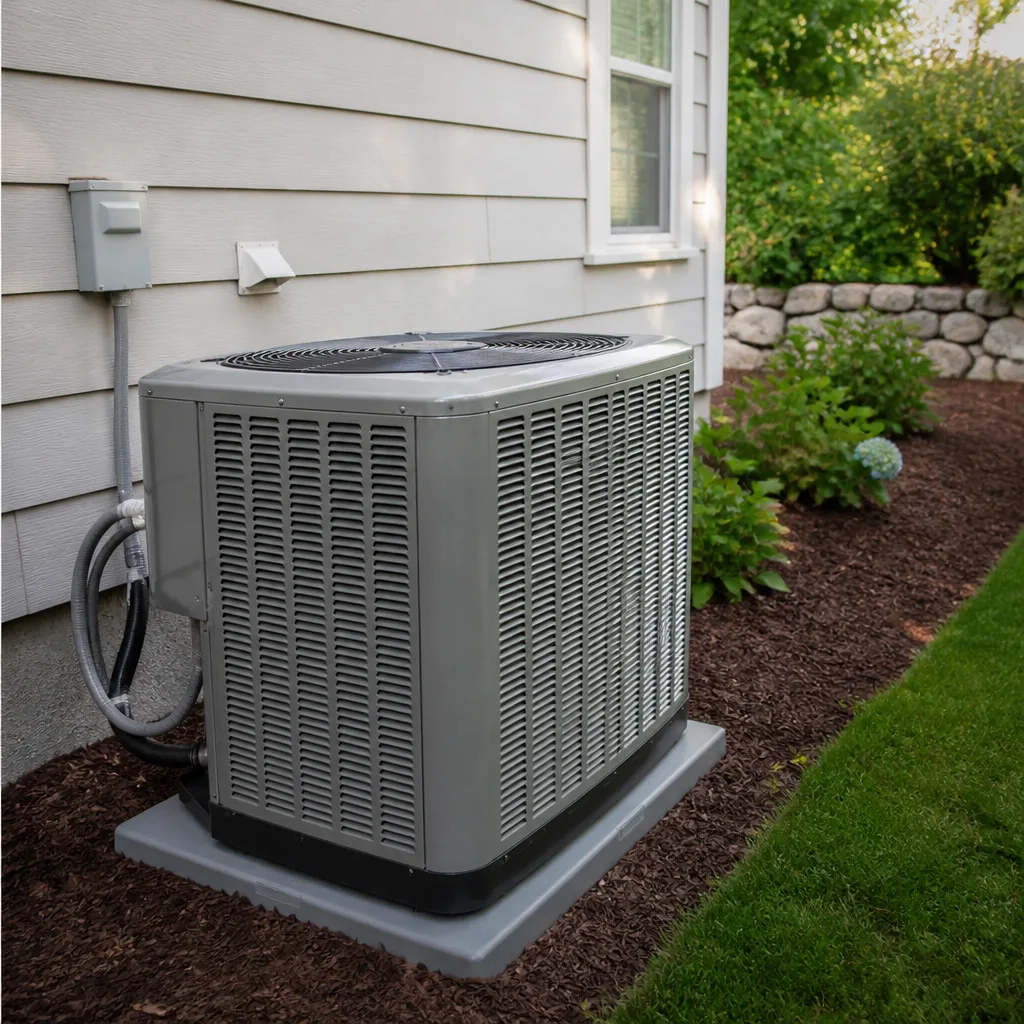
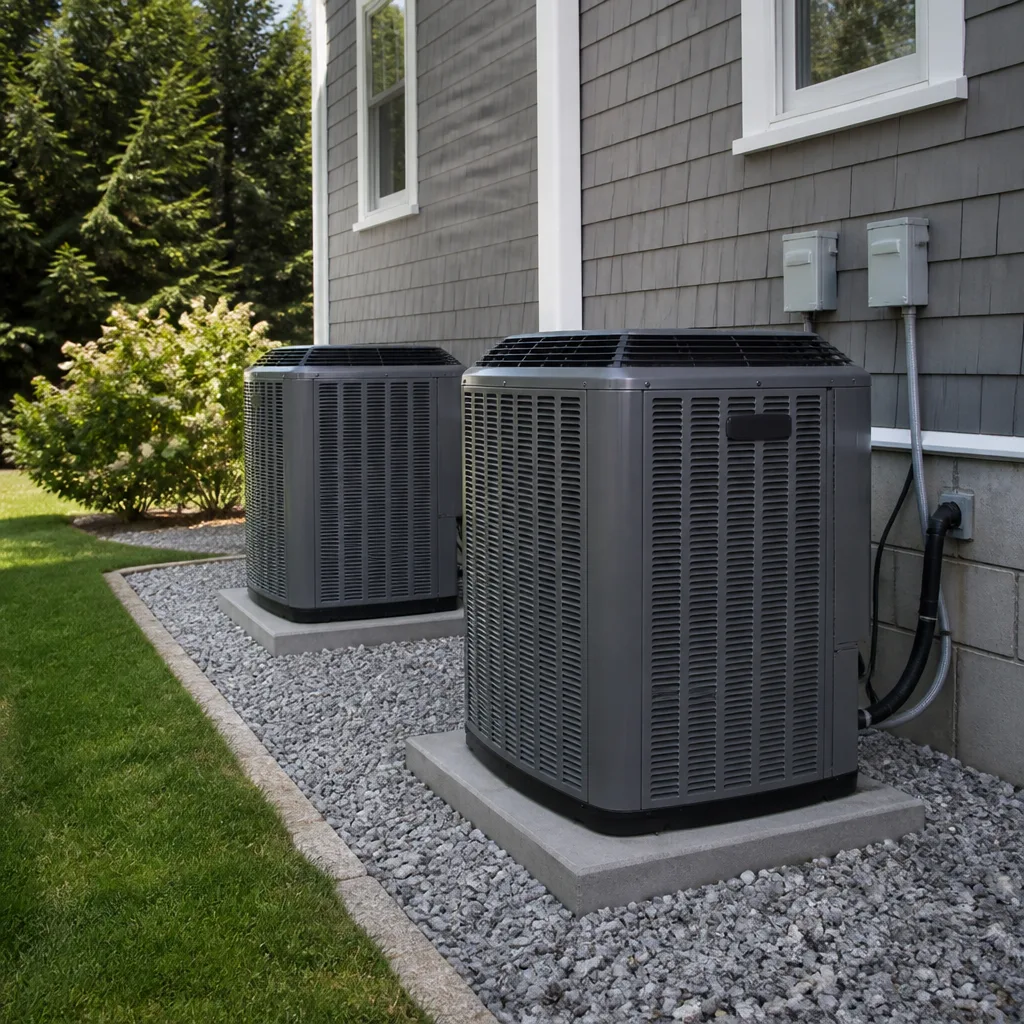
- Look at the fins. The fins are the thin metal slats covering the sides of the outdoor unit. If they’re intact and silver, you’re fine. If they’re turning white, flaking, or crumbling when you touch them, you have corrosion.
- Check the coil for green or white residue. This is a sign of active corrosion, especially common within two miles of the coast. Don’t try to scrape it off. You’ll do more damage.
- Rinse the coil gently with fresh water every other month during spring and summer. Use a garden hose with no nozzle, just low-pressure flow. Never use a pressure washer. The goal is to wash salt off the fins, not bend them.
- Ask about a coil coating. Some manufacturers offer factory-applied anti-corrosion coatings on coastal models. If you’re replacing a system and you live near the coast, this option is worth the extra cost. It’s not a gimmick. We’ve seen coated coils last nearly twice as long as uncoated ones in La Jolla and Mission Beach.
- Keep vegetation away. Salt air isn’t your only coastal threat. Ice plant, bougainvillea, and other coastal landscaping shed debris that gets pulled into the coil and traps moisture, accelerating corrosion. Keep a two-foot clear radius around the unit.
Coastal units need more frequent professional coil cleaning than inland units. For homes in Ocean Beach, Pacific Beach, La Jolla, or Coronado, we recommend a professional coil inspection every two years even if everything seems fine. The cleaning itself runs $100 – $180 if it’s done alone, or it’s included in most full-service tune-ups. For the rest of San Diego, once every three to four years is usually enough.
This is also a good reminder that your system’s outdoor unit location matters long-term. If you’re planning an AC Installation in San Diego in a coastal neighborhood, discuss unit placement with your installer. The difference between a unit on the ocean-facing side of the house versus the leeward side can be years of service life.
Capacitor and Contactor: The Pre-July Inspection
The capacitor and the contactor are two small electrical components that cause a disproportionate share of San Diego AC breakdowns. Here’s why. Our systems sit unused for months at a time during San Diego’s mild winters and springs. Electrical components don’t love sitting idle. The capacitor, which is a small cylinder that stores and releases the electrical jolt needed to start your compressor and fan motor, slowly degrades even when nothing is running. The contactor, which is the switch that closes when your thermostat calls for cooling, can develop pitting and corrosion on its contact points from exposure to moist air and temperature swings.
Then July hits. A heat event rolls through, the whole system kicks on for the first time in months, and runs continuously for days. The weakened capacitor fails under the load. The pitted contactor sticks or arcs. And we get the call: “It worked fine last summer and now it won’t turn on.”
Here’s how to get ahead of it:
- If you’re comfortable with it and the power is off, you can visually inspect the capacitor. Look for a bulging top, leaking oil, or a rusted casing. Any of these mean it’s failed or failing.
- Listen for a humming sound when the AC tries to start but doesn’t. That’s often a capacitor failing to deliver enough voltage to spin the motor. If you hear this, turn the system off and call a technician before the motor burns out trying to start on a dead capacitor.
- Turn the system on for 15 minutes during the first week of June, even if it’s not hot yet. This is the single easiest thing you can do. It confirms the system works before the real heat arrives, and any weakness shows up when the stakes are low.
- Schedule an electrical component check as part of an annual tune-up. A technician will test the capacitor’s microfarad rating (how much electrical charge it can hold) against its specification, inspect the contactor for pitting, and check all terminal connections for tightness.
In San Diego, capacitor replacement typically runs $140 – $220 including the part and labor. A contactor replacement runs $130 – $190. Both are far cheaper than the outcome of ignoring them: a compressor that runs on a failing capacitor can overheat and seize. That repair is north of $2,000, and at that point you’re suddenly having the repair-versus-replace conversation nobody wants.
Filter Type and Replacement Schedule for San Diego’s Smoke Season
The standard advice is “change your filter every 90 days.” In San Diego, that’s wrong about four months out of the year. From late summer through fall, wildfire smoke from fires in San Diego County’s backcountry and from neighboring counties drifts into the city. Your AC filter is your first line of defense for indoor air quality during smoke events, and a filter that worked fine in July will be loaded with ash and soot by September.
Here’s what we recommend in San Diego specifically:
- During smoke season (August through October), check your filter every two weeks. Hold it up to a light. If you can’t see light through it, replace it. Don’t wait for the calendar.
- Use a MERV 11 or MERV 13 filter during smoke season. MERV 8 is the standard recommendation and it’s fine most of the year, but it doesn’t catch fine smoke particles. A MERV 11 or 13 filter will, and most residential systems can handle the slightly increased airflow resistance for seasonal use. If you have an older system, check the manufacturer’s guidance before going above MERV 11.
- Switch back to a MERV 8 after smoke season ends. Running a MERV 13 year-round on an older system can restrict airflow and strain the blower motor. Save the high-MERV filters for when you actually need them.
- Keep two spares on hand. During a genuine smoke event, stores sell out. Eucalyptus in Rancho Bernardo, smoke drifting from Alpine or Ramona, it doesn’t matter. When you need a filter, you need it that day.
- Check your filter after any Santa Ana wind event. Santa Anas pick up fine dust and particulate even without active fires. A single strong wind event can load a filter in 48 hours.
Filter prices vary by size and MERV rating. A standard 16x20x1 MERV 8 filter runs $8 – $15 in San Diego. A MERV 13 in the same size runs $18 – $28. A mid-range option is a washable electrostatic filter, which runs $30 – $60 and lasts several years with monthly rinsing. If you have pets, especially multiple pets, plan to change filters more frequently year-round regardless of smoke.
One more note. A severely clogged filter doesn’t just hurt your indoor air quality. It restricts airflow across the indoor coil, which can cause the coil to freeze. A frozen coil then thaws and floods the area around the indoor unit. We’ve seen simple filter neglect become a ceiling repair. Change the filter, and check the condensate drain while you’re at it. They fail together more often than you’d think.
Refrigerant Levels: What to Check and What Never to “Top Off”
Refrigerant is the cooling fluid that makes your AC work. It doesn’t get “used up” like gas in a tank. It circulates in a closed loop. If your refrigerant level is low, it means there’s a leak. Not a minor issue and not something to ignore. A leak means refrigerant is escaping somewhere, and refrigerants are both an environmental hazard if released and an expensive one if you just keep refilling without finding the leak.
Here’s the plain-English version. Your AC doesn’t need a “refrigerant top-off” as a maintenance step. If a technician tells you the system just needs a recharge and doesn’t find the leak, you’re paying for refrigerant that will escape again, and depending on the age of your system, you might be sinking money into a system that should be evaluated for replacement instead.
What you can do:
- Watch for warning signs. The system runs but blows warm air. Your home takes much longer to cool than it used to. There’s ice on the copper lines going into the indoor unit. Your electric bill jumps with no other explanation. All of these can indicate a refrigerant leak.
- Listen for hissing near the indoor or outdoor unit. A hissing sound while the system runs can be refrigerant escaping through a small leak point.
- Don’t buy a DIY recharge kit from a hardware store or auto parts store. Those kits are designed for cars, not residential HVAC. The refrigerant types and pressures are different, and mixing automotive refrigerant into a home system will destroy the compressor. This isn’t a “save $50” situation. It’s a “turn a $400 repair into a $5,000 replacement” situation.
What a licensed technician does:
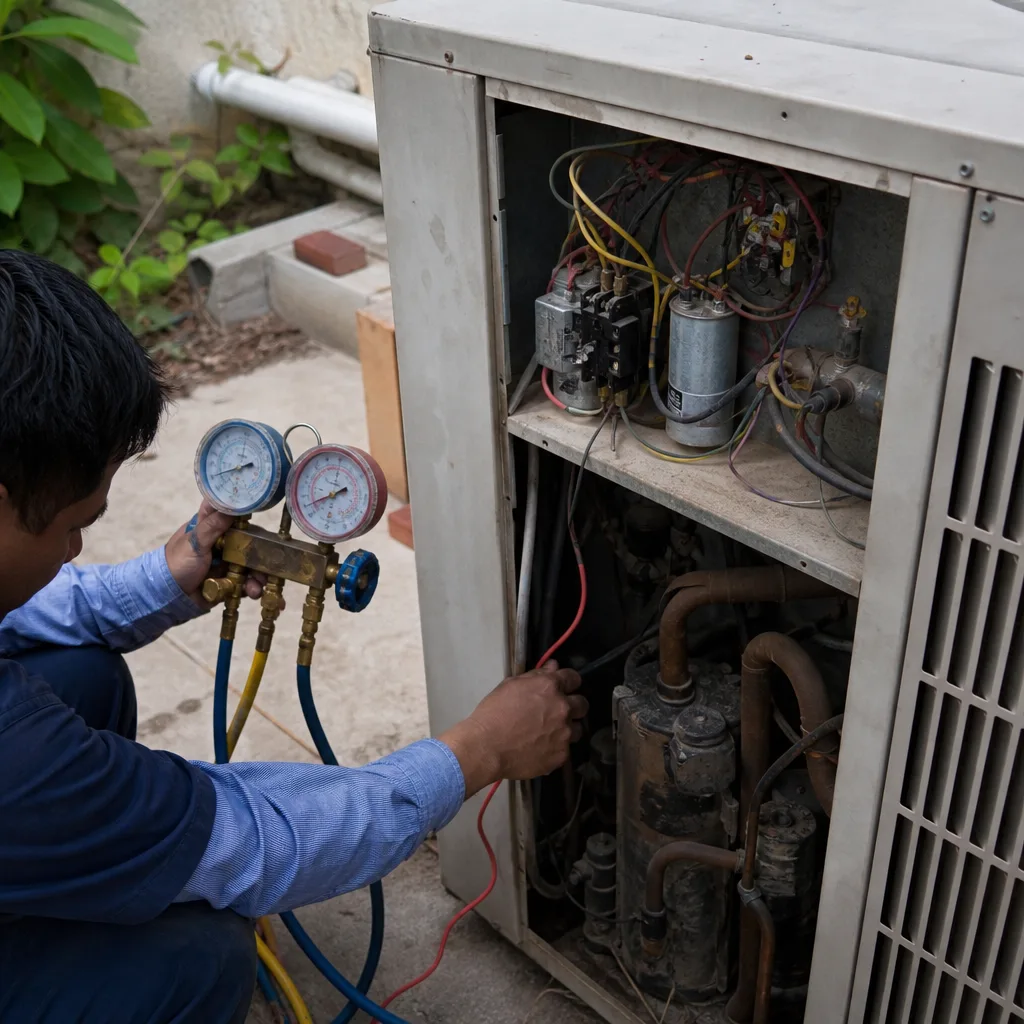
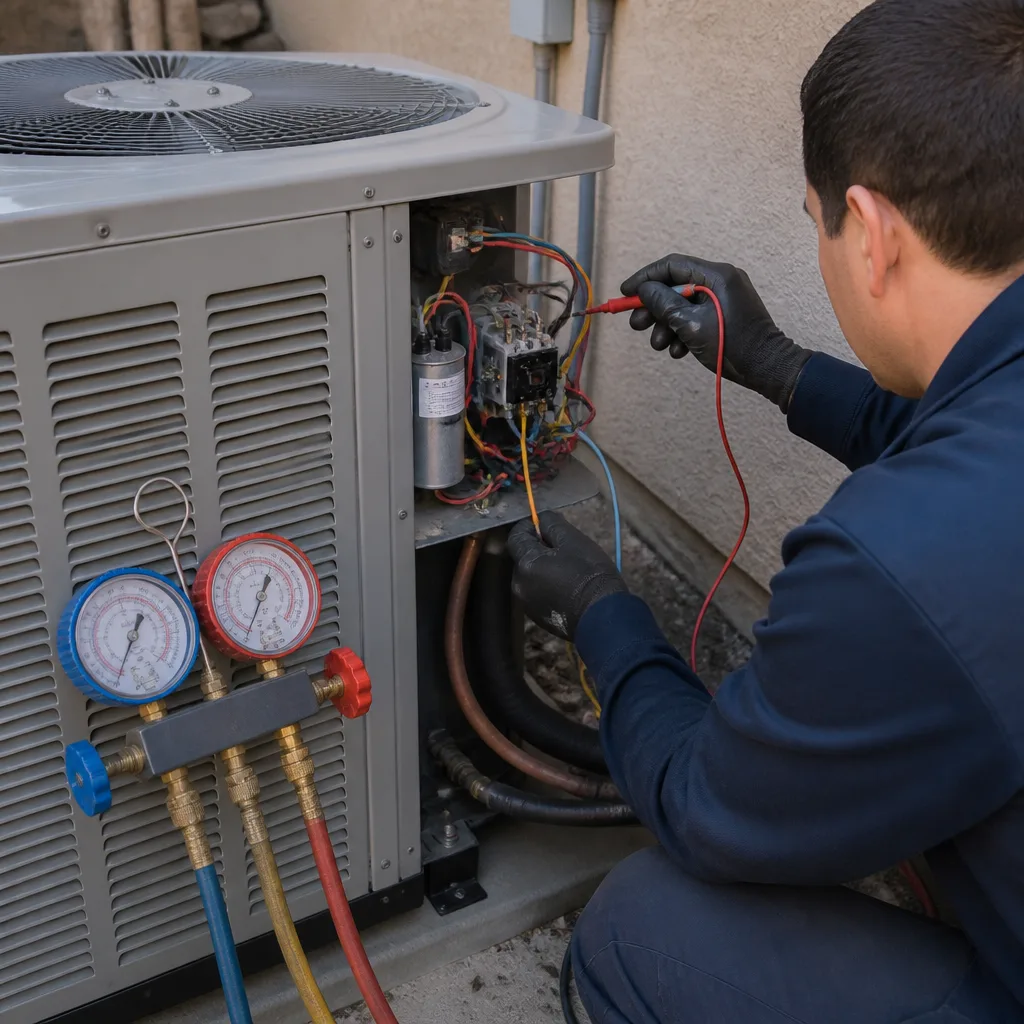
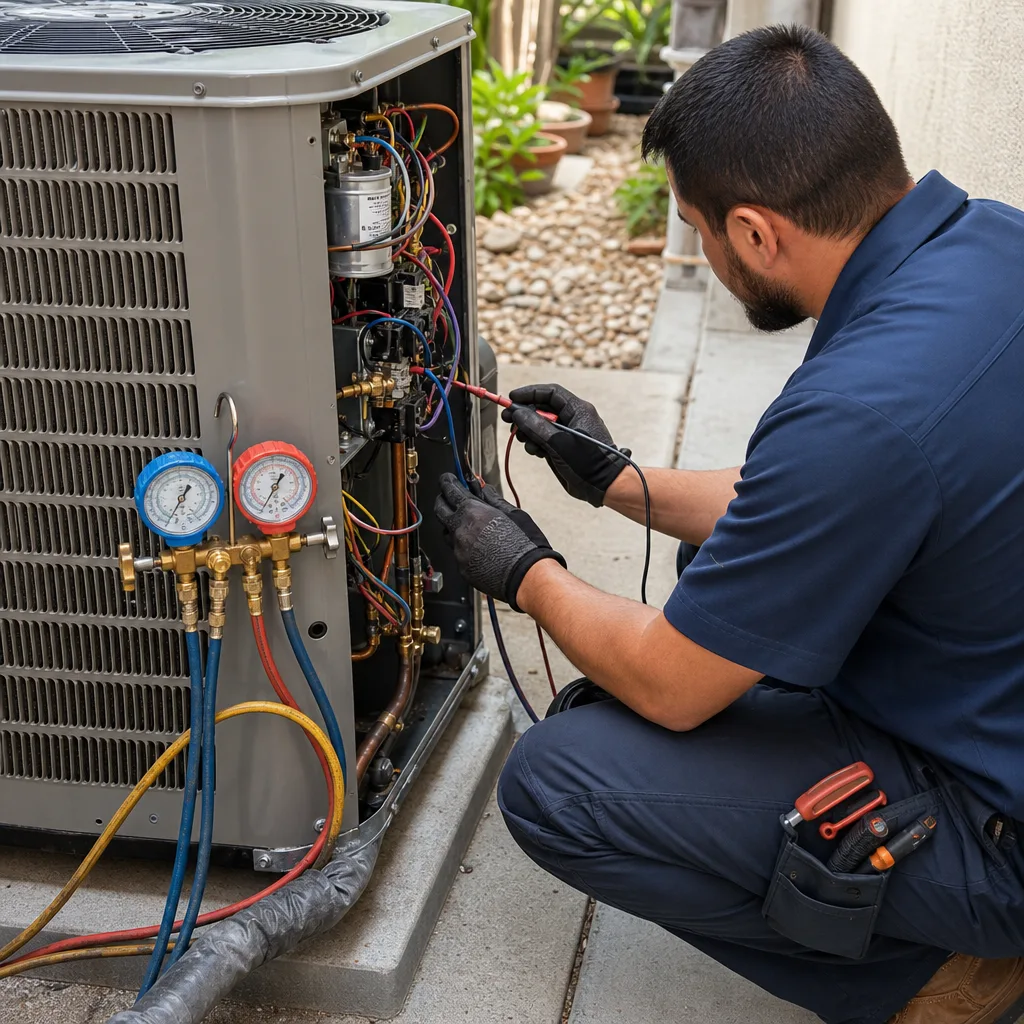
- Tests the system’s pressures with manifold gauges while the system runs.
- Locates the leak using an electronic leak detector or a UV dye that’s added to the system.
- Recommends either a targeted repair (if the leak is in a brazed joint or access valve) or discusses coil replacement (if the leak is inside the indoor or outdoor coil itself and the fins are too degraded for repair).
- Recovers any remaining refrigerant legally, rather than venting it. Venting refrigerant to the atmosphere is a federal violation with steep fines.
In San Diego, a full refrigerant leak search and repair runs $350 – $900 depending on the leak location and refrigerant type. Charging the system after the repair adds another $150 – $350 depending on how many pounds of refrigerant your system requires. Older systems using R-22 refrigerant, which is no longer manufactured, can cost $150 – $200 per pound just for the refrigerant. That’s another reason a leaking 15-year-old system often makes more sense to replace than repair.
DIY vs. Licensed Technician: Where the Line Is (and Why It Matters)
You can do more than you think, but less than the YouTube videos suggest. The line between DIY and professional in HVAC isn’t just about safety, though safety matters. It’s also about warranties. Most manufacturer warranties specifically state that the system must be serviced by a licensed professional using OEM-approved procedures. A homeowner who opens the sealed refrigerant lines or attempts an electrical repair can void that warranty in one afternoon.
Here’s the clear divide:
Safe and legitimately DIY:
- Changing or cleaning the air filter.
- Pouring vinegar into the condensate drain line to prevent algae and buildup.
- Visually inspecting the outdoor unit for debris, corrosion, or ice.
- Clearing leaves and vegetation from around the outdoor unit.
- Rinsing the outdoor coil with low-pressure water from a garden hose.
- Checking the drain pan for standing water.
- Testing the system by running it for 15 minutes in early June.
- Checking your thermostat batteries and settings.
Requires a licensed technician:
- Anything involving the refrigerant lines. Adding refrigerant, recovering refrigerant, leak testing with gauges, or repairing a leak.
- Any electrical work inside the equipment cabinet. Capacitors store electrical charge even after power is disconnected. A charged capacitor can deliver a shock that stops your heart. This is not a warning label being dramatic. It’s a fact of the trade.
- Opening the sealed sections of the outdoor or indoor unit.
- Checking or adjusting refrigerant pressures.
- Diagnosing compressor or motor problems.
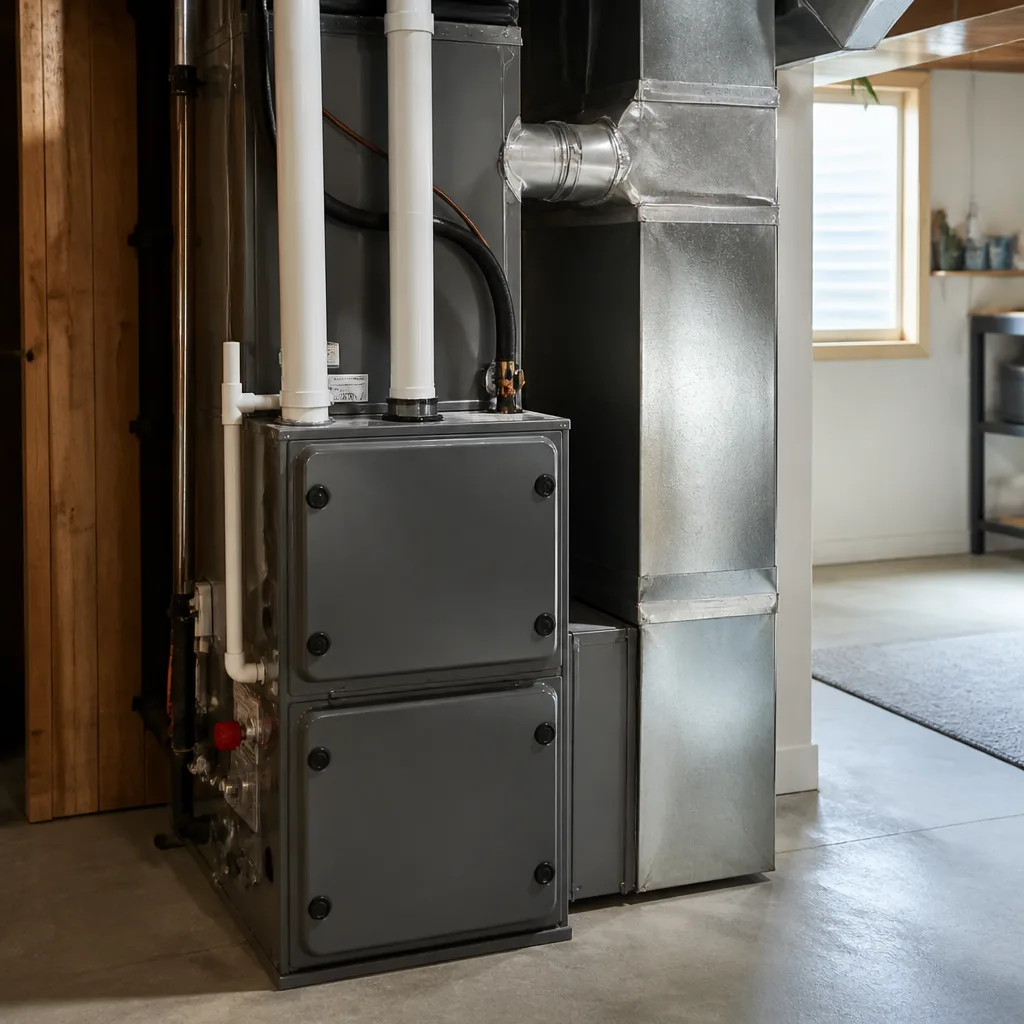
- Any repair involving natural gas lines on a furnace or dual-fuel system.
The practical outcome in San Diego is this. You handle the filter, the drain flush, the visual inspections, and keeping the area around the unit clear. You call a licensed technician for the annual tune-up, which includes a capacitor test, contactor inspection, refrigerant check, coil cleaning, and a full electrical connection review. The DIY work you do between visits keeps the system healthy, and the professional work keeps the warranty intact.
We train our technicians on nine major residential brands including Carrier, Trane, Lennox, Goodman, Rheem, York, Daikin, Bryant, and American Standard. When we open a system, we know what we’re looking at, and we know what the manufacturer’s warranty requires. That’s the part worth paying for.
A Month-by-Month Maintenance Timeline for San Diego
San Diego doesn’t have dramatic seasonal shifts like Phoenix or Minneapolis. What we have is a specific rhythm of marine layers, heat events, and wind patterns. Your maintenance schedule should follow that rhythm rather than a generic “spring and fall” calendar.
January – March: The Idle Season
Your AC is mostly off. Run it for 15 minutes once in February, just to confirm it works and to keep internal seals lubricated. Check that nothing is leaning against the outdoor unit. Clear any debris that accumulated during winter rain.
April – May: Pre-June Gloom Preparation
This is the most important maintenance window in San Diego. In late April or early May, do the following: replace the filter if you haven’t in the last 60 days, pour vinegar down the condensate drain, visually inspect the outdoor coil, and schedule your annual tune-up if you haven’t. The goal is to have the system ready before the humidity arrives in June.
June: June Gloom Humidity Season
Run the system normally. Listen for unusual sounds. Watch for condensation problems: water by the indoor unit, water staining on the ceiling, or a musty smell when the system runs. If you see any of these, the condensate drain is likely blocked. Address it in May and you won’t see it in June.
July – August: Peak Heat Events
San Diego’s heat waves arrive fast and leave fast, but while they’re here the system works hard. Change the filter before any forecast heat event. Keep the area around the outdoor unit clear. If the system acts up, call early. The faster you get on the schedule, the faster you’re cool.
September – October: Wildfire Smoke Season
Switch to a MERV 11 or MERV 13 filter. Check it every two weeks. After the smoke clears, switch back to MERV 8. Pour vinegar down the drain line once in September. Check for ash accumulation on and around the outdoor unit and rinse the coil if needed.
November – December: Transition Season
Give the system one final 15-minute run in November before the winter idle period. Change the filter. Walk around the outdoor unit and look for anything odd: corrosion, debris, pest activity. Make note of anything that needs a technician’s attention and call before the calendar flips to January.
This rhythm is built for San Diego. It won’t look like a checklist for a city with humidity, snow, or scorching summers. It’s specific to what we actually live with, and that’s the point.
Common Mistakes to Avoid
- Waiting until the first heat wave to run the system for the first time. If the system failed in December, you’d rather find out in May than on a 95-degree July afternoon. Run it for 15 minutes in early June at the latest.
- Using a pressure washer on the outdoor coil. The fins on a condenser coil are thin enough to bend with the force of a pressure washer. Once they’re bent, airflow drops, and your system loses efficiency. Low-pressure garden hose only.
- Closing vents in unused rooms to “save energy.” Your system is sized for the whole house. Closing vents just increases static pressure, stresses the blower, and usually costs more in repairs than it saves in utilities.
- Replacing the filter on a 90-day calendar schedule without looking at it. During smoke season, a 90-day-old filter in San Diego might be loaded with ash after three weeks. Look before you replace, not after the calendar says so.
- Ignoring a partially blocked condensate drain because “the AC still works.” The drain blockage doesn’t affect cooling until it does. By the time water is dripping through your ceiling, you’re paying for drywall repair and a plumber on top of the AC service.
- Asking for a “refrigerant top-off” without a leak search. That’s paying for temporary relief. The leak remains, the refrigerant escapes again, and you’re back in the same spot in a month. Find the leak or face the replacement conversation.
- Skipping the annual tune-up because nothing is broken. The tune-up isn’t a repair visit. It’s the visit that prevents the repair visit. The electrical components it checks are the ones that fail suddenly and expensively.
When to Call a Professional
Some things belong in a technician’s hands, and not just because they’re technically complex. They belong there because the cost of getting them wrong is too high. Call a professional when you see ice forming on the indoor or outdoor unit, hear grinding or screeching from the outdoor unit, smell burning or electrical odors when the system runs, see water where it shouldn’t be, or notice the system cycles on and off rapidly every few minutes. A capacitor that’s failed but hasn’t been replaced yet is a breakdown waiting to happen. A refrigerant leak that’s “topped off” is money leaving the house twice. If you’re in San Diego and something seems off, we’ll come look. Cold Harbour Heating and Air San Diego offers free estimates. Call (619) 793-3598 and talk to a live person, any hour, any day.
Frequently Asked Questions
For a standard 1-inch filter, change it every 60 days during normal conditions and every two weeks during wildfire smoke season, which in San Diego runs roughly from August through October. Homes with pets may need more frequent changes year-round. If you use a MERV 13 filter during smoke events, go back to MERV 8 when the air clears.
Yes. Homes within two miles of the ocean face salt-air corrosion on outdoor coils and electrical connections, which accelerates wear. Coastal units benefit from a coil rinse every other month during spring and summer, plus a professional coil inspection every two years. Inland units can stretch that to every three or four years.
A professional annual tune-up in San Diego typically runs $89 – $189, depending on the company and the scope of the service. A tune-up that includes a full coil cleaning, capacitor and contactor testing, drain line flush, and a complete electrical inspection is worth every dollar. Skip the tune-up and the repair it would have prevented can cost 10 to 20 times more.
For the outdoor coil, yes. Rinse it gently with a garden hose and no nozzle, low pressure only. Do not use a pressure washer. For the indoor evaporator coil, no. That coil sits inside the air handler, requires specialized tools to access safely, and doing it wrong can damage the coil or create a mold problem inside your ductwork.
This is the San Diego pattern. Your system sits idle for months during mild weather, electrical components degrade quietly during that idle period, and then the first heat wave puts the system under full load simultaneously. The weakened component fails. This is exactly why we recommend running your system for 15 minutes in early June and having an annual electrical inspection before July.
As a rule of thumb, if the repair costs more than 50% of the system’s current value and the system is over 12 years old, replacement is usually the better financial decision. In San Diego, a leaking coil on a 15-year-old R-22 system is the classic example. You’re paying for refrigerant that’s no longer manufactured at prices that climb yearly, plus a coil replacement, on a system that may fail again next year. We’re glad to walk through the numbers honestly when you call us at (619) 793-3598.
The Bottom Line
The best AC maintenance checklist for San Diego isn’t the one from a national website. It’s the one built around what actually breaks here: condensate drains that clog during June Gloom, coils that corrode from ocean air, capacitors that fail when a system sits idle then runs hard, and filters that clog twice as fast during smoke season. Do the DIY work: change filters, flush drains, rinse coils, keep the area clear. Schedule the professional work: an annual tune-up that includes electrical testing and a refrigerant check. And if something fails anyway, you know who to call. Cold Harbour Heating and Air San Diego has been serving San Diego since 2003. Our Cold Harbour Heating and Air San Diego home page has everything you need to know about who we are and how we work. For furnace issues, see Furnace Repair in San Diego. For AC problems, start with AC Repair in San Diego. And if you’re ready to replace an aging system, AC Installation in San Diego walks you through what to expect.
Written by Victor Mancini, Owner at Cold Harbour Heating and Air San Diego, serving San Diego since 2003.
See the difference
 Before
 After
After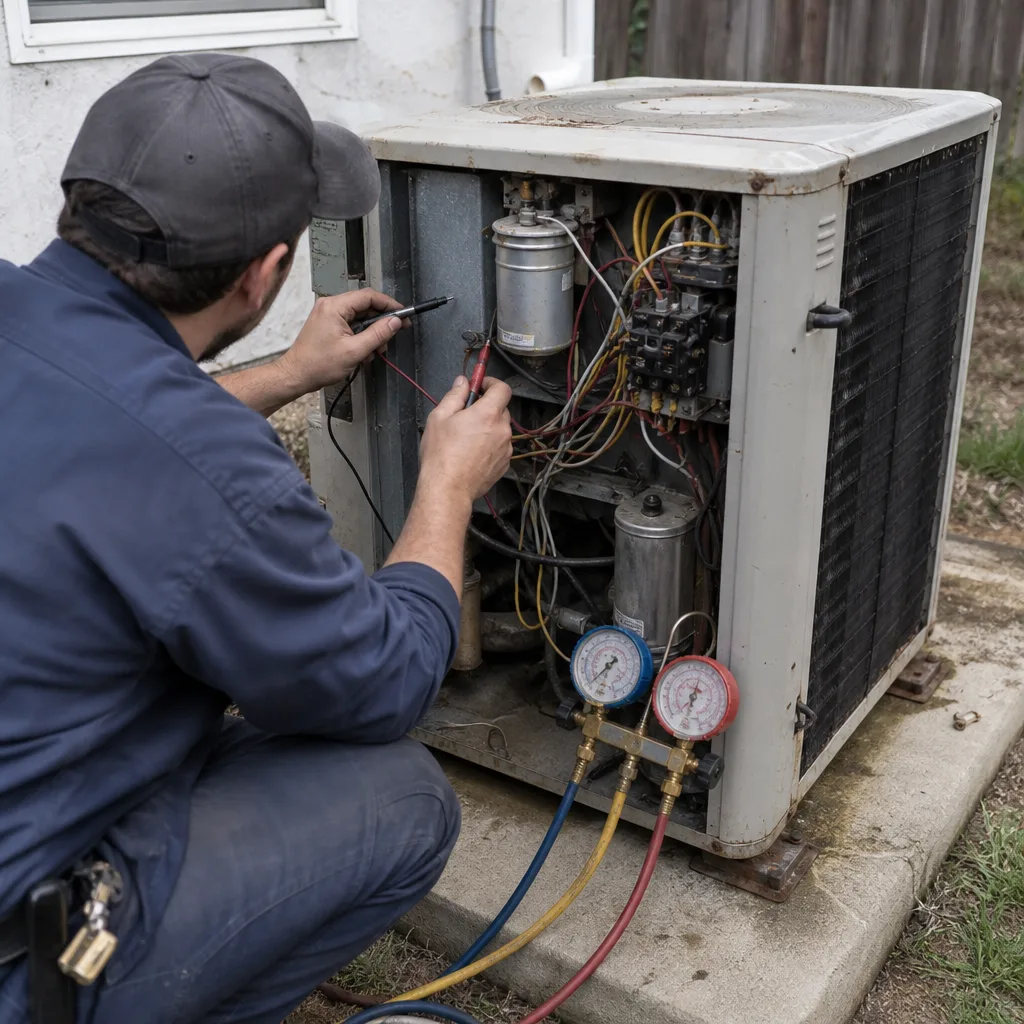 Before
 After
After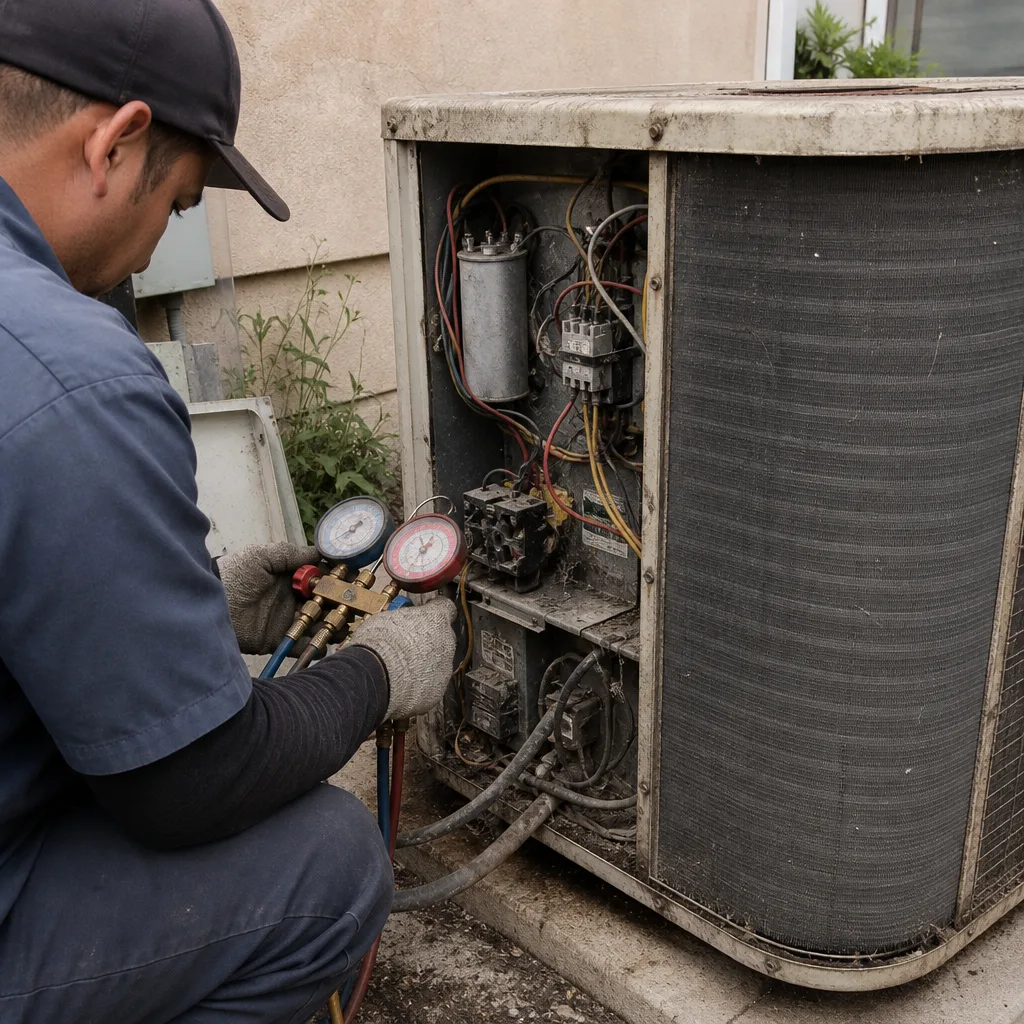 Before
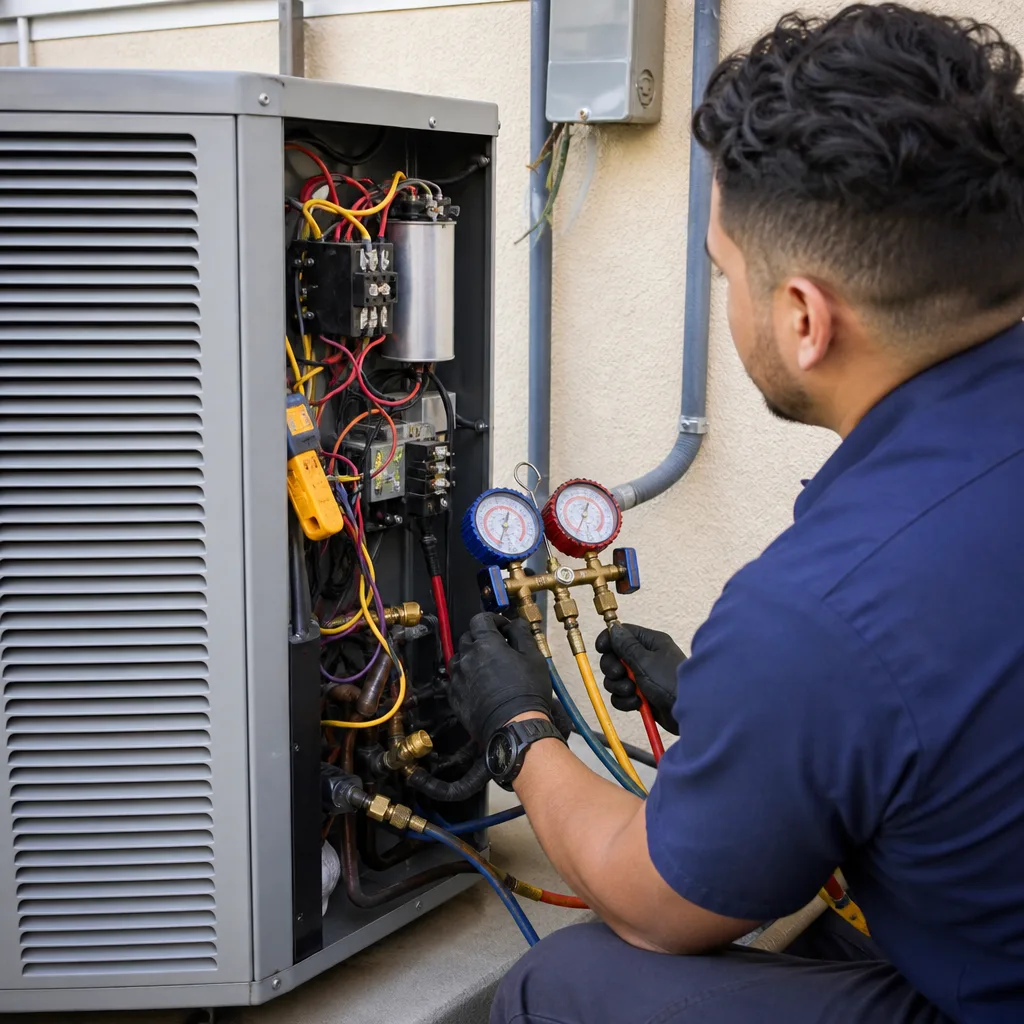 After
After